But that's not why we're here is it? Nails, yes let's talk nails! I've been wanting to try rainbow dots for a while, but I was a little afraid. They looked really tricky and I just knew I would jack them up. They actually are really simple and they make a big statement!

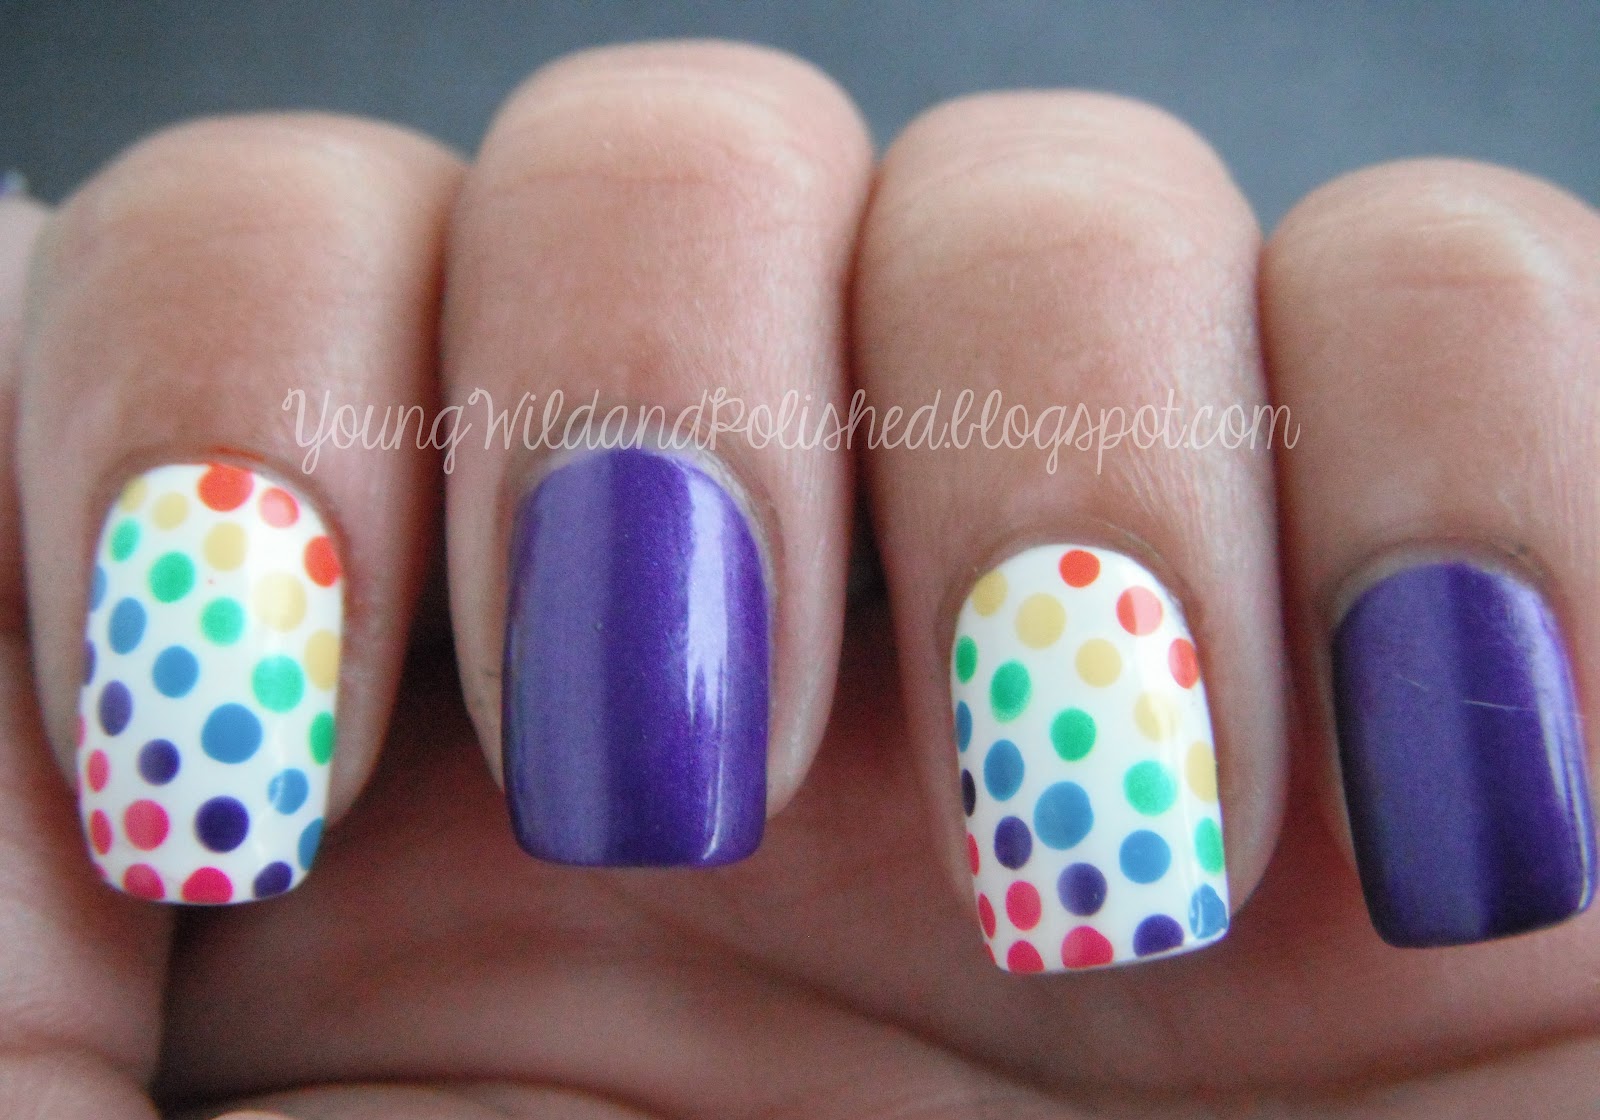


Aren't they just the sweetest thing? Emma (my little polish princess in training) thought they were just the coolest thing.
The purple color I used is Pixi Amazing Amethyst. Target is the only place I have ever found Pixi and I am such a fan! The formula is really nice and they are super opaque. The dots were done with (in order from tip to cuticle) :
Sally Hansen Fuchsia Power
Pixi Amazing Amethyst
Zoya Robyn
China Glaze In the Limelight
Orly Spark
Essie Orange It's Obvious
The white I used is Milani High Speed Dry White on the Spot. I tried this on a whim because they were on sale at CVS the other day and I am totally in love. This is the greatest white polish I have ever used. It dries really quickly and doesn't get streaky and spotty like most white polishes do. I highly recommend you get this if you need a good white polish. Heck I recommend this either way, because honestly, who can't use a great white?!
A few people have commented on my dots and how much they enjoy them. (Thank you, thank you a thousand times over, I am blushing). They also asked me how I get the dots to be so uniform, so I thought I'd give you all a few tips that hopefully will help you in the "dotting process". Believe me, dots are tricky at first, you always get that one dot that just won't go right and ruins the whole look of the nail. (At least to me, hello let me introduce you to my friend OCD). Ok, here we go...
- Make sure that your base polish is dry. It honestly does make a difference. I find when the polish is tacky, the dots go on squishy. (Yes these are professional terms in case you are wondering, hehe).
- Do one nail at a time. What I mean by this is...put just enough polish out on your nail plate for one nail. The fresher and wetter the polish the better. I used to try to do 3 nails or more with one glob of polish and once that glob starts to dry...hello trouble. You will get the little flyaways that leave little lines of tacky polish all over your nail if you try to overdo it.
- Clean your dotter after each nail. Dip it in acetone and wipe with a paper towel or whatever you have on hand. Just make sure that you don't leave any lint on whatever tool you are using to dot. Not cleaning the dotter and letting the polish build up is what causes different sized dots. With the build up your dotter will hold more polish, therefore making larger dots. This is the most important hint of them all! CLEAN YOUR DOTTER FREQUENTLY!! It really does make a huge difference.
- Don't go crazy with the dipping. I usually dip about half way in my little spot of polish for the initial "dip" and then for each dot after, I just barely touch the blob. You don't want too much. If you do get too much, your dots will start to get larger. Clean your dotter off and start over if this happens. It is worth it in the end.
- For "regular" dots I usually start in the center of the nail down near the cuticle. I make a line of 3 to 4 dots evenly spaced. Then I do either side alternating how the dots are placed.
- For this rainbow mani, I started at the tip of the nail and made the dots diagonally, working my way down to the cuticle. I made one row of dots with each color, sometimes adding an extra here or there if I had extra space I had to fill in.
This is a picture of the dotters I use, the white one is by far by favorite. I purchased these on Amazon and they were very inexpensive. They are one of the greatest nail art tools I own!!


And here is a picture of the size of my little "glob" that I have spoken of so much. I put a dime by it so you can get an idea of the actual size. This would be for one nail. Repeat for each nail with a new blob of polish AFTER you clean off your dotter. :)

Sorry for the messy plate, I have been using this same one since I was like 16.
I will never replace it!
I hope this helped those of you who needed a few tips on dotting. I am in no way a professional dotter, lol that sounds really silly. I'm not posting this with an "I'm so much better than you" attitude, and I hope it doesn't seem that way. I honestly want to help you guys any way that I can. There are some forms of nail art that I absolutely stink at and there a few that I am pretty decent at. Dots are one of my favorite things to do and if I can help anyone then I certainly will!
Also an update on the water marble video....it is done, I just suck at life when it comes to uploading, editing, all that jazz. If I don't bust the camcorder or strangle myself, it will be up as soon as my dumb ass figures everything out. Hehe.
Wow that was a long one...Happy Polishing Friends!!!